
دمج مسح الهوية واستخراج البيانات في تطبيقات الويب باستخدام BlinkID SDK


في هذا الدليل التفصيلي خطوة بخطوة، سنوضح لك كيفية البدء في مسح واستخراج البيانات من رخصة القيادة باستخدام حزمة BlinkID SDK من Microblink.
إذا كان الوقت ضيقًا لديك، وترغب في رؤية هذا العمل قيد التشغيل على الفور، فقم بتجربة التطبيقات التجريبية.
والأفضل من ذلك، جرب هذا بنفسك في أقل من 5 دقائق على جهازك (إذا كان Node وGit مثبتين عليه) باتباع الخطوات التالية:
- in your terminal, clone this repo by running
git clone https://github.com/BlinkID/blinkid-in-browserin your Terminal - run
cd blinkid-in-browser/examples/getting-started && npm install && npm run dev - get the license at Microblink Developer Hub and add it to the
LICENSEvariable in themain.jsfile - run
cd BlinkID-InBrowserSDK-GettingStarted && npm install && npm run dev - افتح الرابط http://localhost:5173/
إذا كنت تفضل مشاهدة مقطع فيديو قصير حول كيفية تنفيذ هذا المشروع، فلا تتردد في مشاهدته هنا.
إذا كنت ترغب في إعادة إنشاء هذا المشروع من البداية، فإليك الدليل التفصيلي خطوة بخطوة.
المشكلة
دعونا نضع الأمور في سياقها: أنت تدير شركة لتأجير السيارات، ويُطلب من عملائك إدخال معلومات رخصة القيادة الخاصة بهم في نموذج إلكتروني على موقعك الإلكتروني. عادةً ما تكون هذه العملية عرضة للأخطاء، وغالبًا ما تستغرق بعض الوقت، وتلاحظ ارتفاعًا حادًّا في معدل التسرب عند هذه الشاشة بالذات.
تقوم بالتعمق أكثر مع فرق البحث الخاصة بالمنتج والمستخدمين، فتكتشف أن المستخدمين غالبًا ما يرتكبون أخطاءً عند إدخال المعلومات، وأنهم، بشكل عام، يجدون هذه العملية مرهقة.
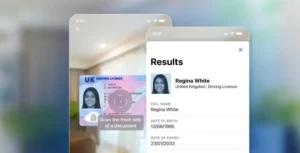
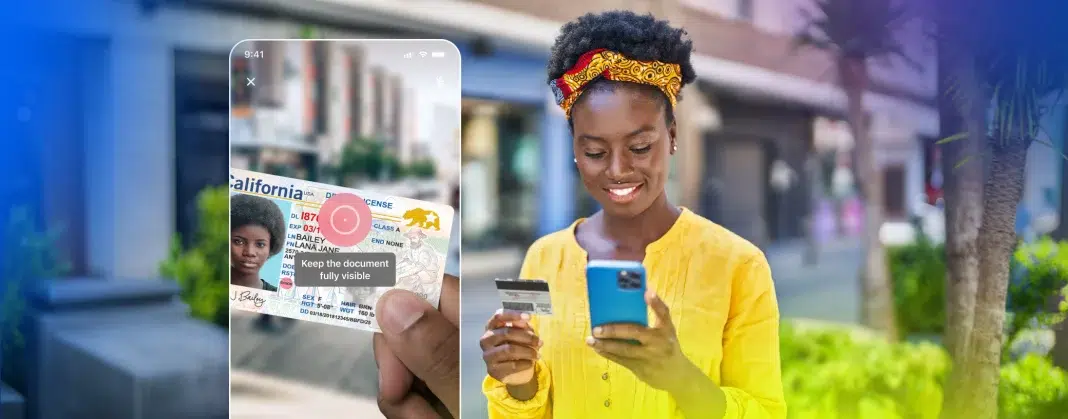
الآن، تخيل ما يلي: تقوم بتنفيذ مكتبة برمجية تتيح لك منح العملاء إمكانية مسح بطاقة هويتهم ضوئيًّا باستخدام الكاميرا، وفجأة: يتم ملء جميع التفاصيل من بطاقة هويتهم تلقائيًّا.
سلس، وخالٍ من الأخطاء، وسريع!
هل أثار ذلك اهتمامك؟ حسنًا، دعنا نستعرض خطوة بخطوة كيفية البدء في استخدام هذه التقنية.
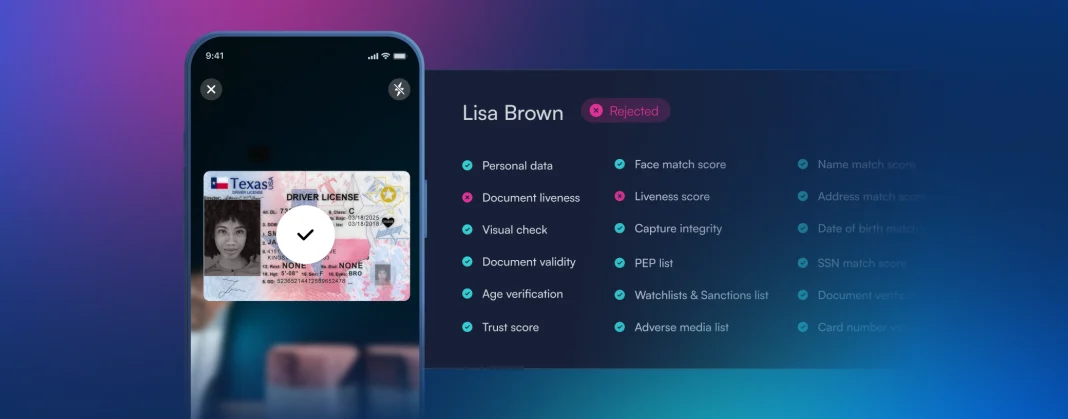
بشكل عام، يمكن أن يؤدي دمج إمكانيات المسح الضوئي المتقدمة للوثائق وتقنية التعرف الضوئي على الحروف (OCR) في تطبيق الويب الخاص بك إلى تحسين تجربة المستخدم بشكل كبير وتبسيط العمليات بغض النظر عن مجال العمل. توفر حزمة أدوات تطوير البرامج (SDK) BlinkID من Microblink حلولاً قوية وموثوقة للمسح الضوئي، ليس فقط لرخص القيادة، بل أيضاً لبطاقات الهوية وجوازات السفر والوثائق الأخرى. في هذه المدونة، سأرشدك عبر الخطوات اللازمة لدمج BlinkID في تطبيق الويب الخاص بك لاستخراج البيانات من رخصة القيادة، وسنتعمق أكثر في الحلول الأخرى في بعض المنشورات القادمة.
المتطلبات الأساسية
تأكد من تثبيت الأدوات التالية:
- Node.js – انتقل إلى الموقع الإلكتروني الرئيسي وقم بتنزيل الملف القابل للتنفيذ المناسب لجهازك
- Git – انتقل إلى الموقع الإلكتروني الرئيسي وقم بتنزيل الملف القابل للتنفيذ المناسب لجهازك
بدء مشروع جديد باستخدام Vite
كما ترى في أحدث تقرير عن «حالة JS»، أصبح Vite أحد أكثر أدوات البناء شعبيةً، لذا سنستخدمه هنا.
إذا كنت تتساءل عن سبب أهمية ذلك أصلاً، فستجد هنا شرحًا مطولًا جدًّا، أما الإجابة السريعة جدًّا، وإن كانت معقدة بعض الشيء، فهي:
تستفيد Vite من وحدات ES الأصلية لتوفير خادم تطوير سريع مزود بخاصية «استبدال الوحدات الساخنة» (HMR) الفورية، مما يجعل عملية التطوير أكثر سلاسة وكفاءة، ويؤدي إلى إنتاج إصدارات مُحسَّنة وجاهزة للإنتاج.
بصراحة تامة، لا ينبغي أن تستخدم Vite لمجرد أن «الشباب العصريين» يستخدمونها، بل لأنها ستحسن تجربة التطوير لديك بشكل كبير.
OK, with theory out of the way, let’s run the following command in your terminal: npm create vite@latest. This will run the latest version of Vite.
When prompted, use blinkid-integration as the Project name, select Vanilla as a framework (meaning, no framework) and Javascript as the variant (meaning, the language; other option is TypeScript). The output you should see is similar to this:
✔ اسم المشروع: … blinkid-integration
✔ حدد إطار عمل: › Vanilla
✔ حدد النسخة: › JavaScript

جاري إنشاء هيكل المشروع في /Users/nikola/DEV/test-vite/blinkid-integration...

تم. الآن قم بتشغيل:

  cd blinkid-integration
  npm install
npm run devتشغيل مشروعنا المدعوم بنظام السقالات
دعونا نُجري الأوامر (في المحطة الطرفية) المذكورة في نهاية الناتج السابق:
cd blinkid-integration
npm install
npm run dev
بمجرد انتهاء العملية، من المفترض أن تحصل على ناتج مشابه لما يلي:
تمت إضافة 10 حزم، وتدقيق 11 حزمة في غضون 10 ثوانٍ

هناك 3 حزم تبحث عن تمويل
  قم بتشغيل `npm fund` للحصول على التفاصيل

تم العثور على 0 ثغرات أمنية

> مطور blinkid-integration@0.0.0
> vite

المنفذ 5173 قيد الاستخدام، يتم تجربة منفذ آخر...

  VITE v5.3.2  جاهز في 209 مللي ثانية

  ➜  محلي:   http://localhost:5174/
  ➜  الشبكة: استخدم --host لعرضه
  ➜  اضغط على h + Enter لعرض المساعدة
من المفترض أن تظهر لك الصفحة التالية في متصفحك إذا قمت بفتح الرابط http://localhost:5174:
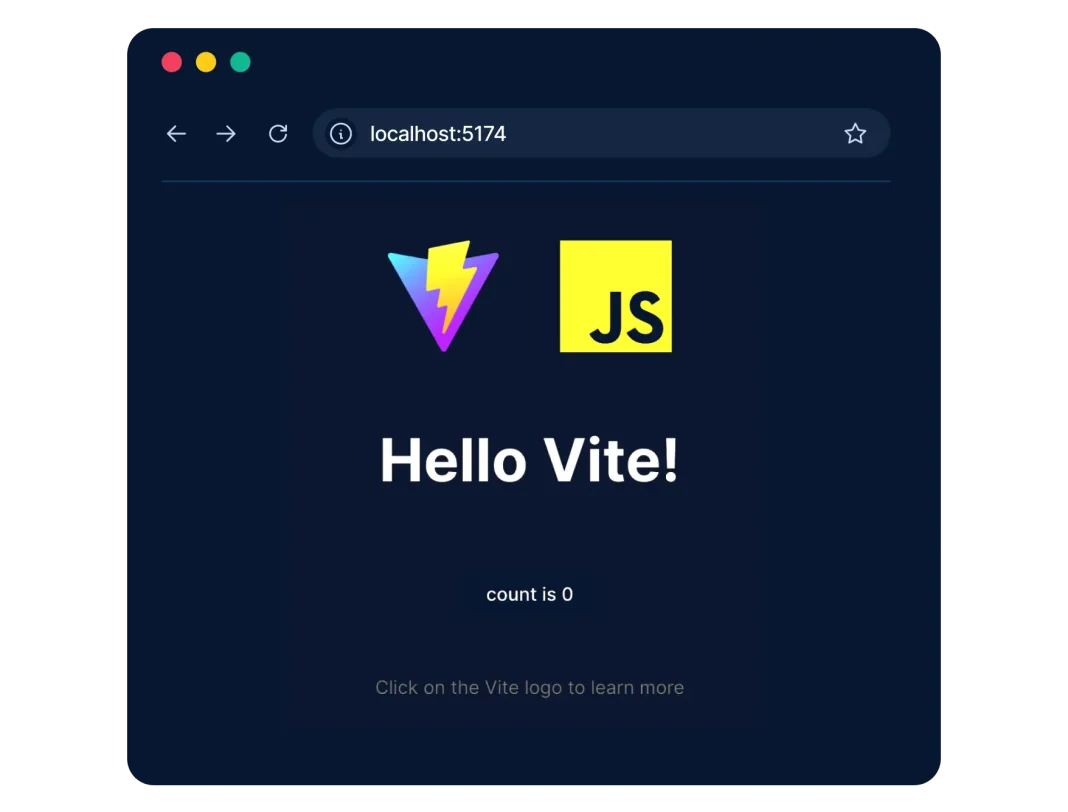
كما هو متوقع، إذا نقرت على زر «العدد هو 0»، فسيزداد الرقم.
إضافة BlinkID SDK
بعد ذلك، دعونا نقوم بتثبيت BlinkID SDK عن طريق تشغيل الكود التالي في المحطة الطرفية:
npm install --save @microblink/blinkid-in-browser-sdkنسخ مجلد الموارد
This is a very important step, that often gets overlooked! So, please make sure to copy the resources folder (found in node_modules/@microblink/blinkid-in-browser-sdk/resources) into the public folder.
إنشاء بنية HTML أساسية
إذا فتحت المشروع النموذجي في محرر البرمجة المفضل لديك (أنا أستخدم VSCode)، فسترى هيكل المجلدات التالي:
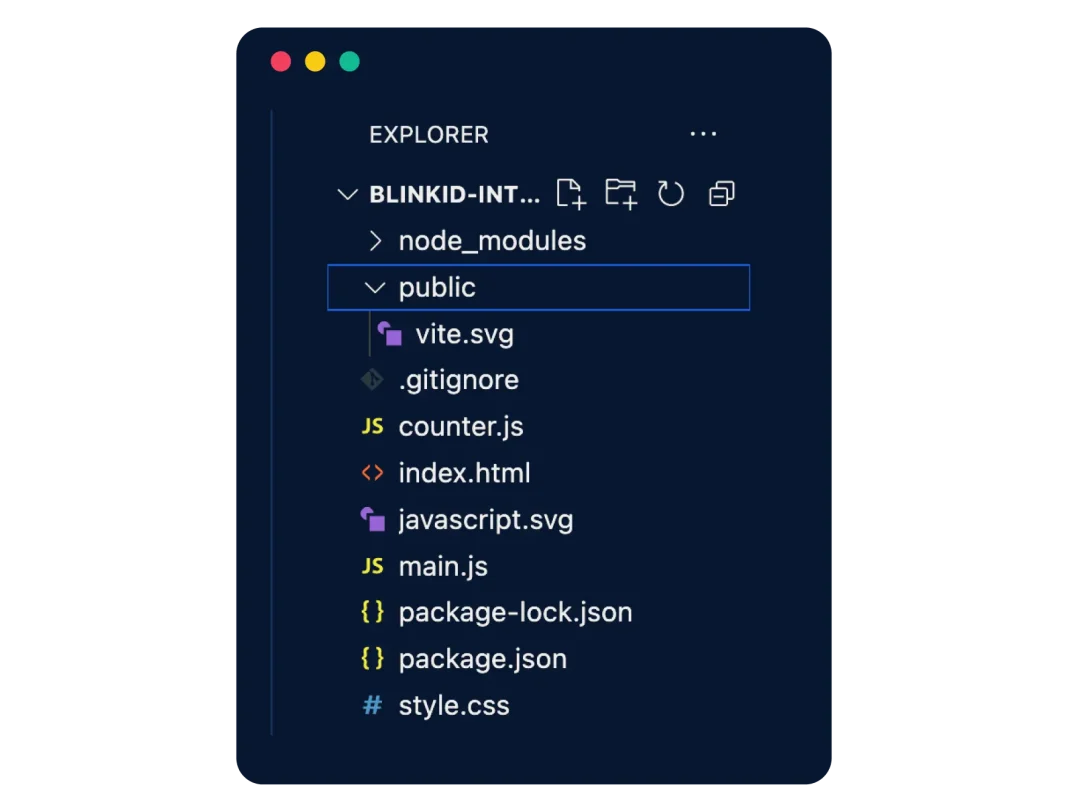
If you’re interested and haven’t used Vite before, I encourage you to check out the code. It showcases the ability to use the import command.
Now, let’s replace the current contents of the index.html file with the following:
<!doctype html>
<html lang="en">
  <head>
    <meta charset="UTF-8" />
    <link rel="icon" type="image/svg+xml" href="/vite.svg" />
    <meta name="viewport" content="width=device-width, initial-scale=1.0" />
    <title>اختبار BlinkID</title>
  </head>
  <body>
    <video id="myCameraVideoElement"></video>
    <script type="module" src="/main.js"></script>
  </body>
</html>
You will notice that we only changed the title, and instead of <div id="app"></div> added <video id="myCameraVideoElement"></video>.
إضافة جافا سكريبت لمسح المستندات واستخراج البيانات منها
Replace all the contents of main.js file with the following code:
const LICENSE = '';
import * as BlinkIDSDK from "@microblink/blinkid-in-browser-sdk";

if (BlinkIDSDK.isBrowserSupported()) {
  const loadSettings = new BlinkIDSDK.WasmSDKLoadSettings(LICENSE);
  loadSettings.engineLocation = window.location.origin + "/resources/";

  BlinkIDSDK.loadWasmModule(loadSettings).then
    (
      async (wasmSDK) => {
        const recognizer = await BlinkIDSDK.createBlinkIdSingleSideRecognizer(wasmSDK);

        const recognizerRunner = await BlinkIDSDK.createRecognizerRunner(
          wasmSDK,
          [recognizer],
          true
        );

        const cameraFeed = document.getElementById("myCameraVideoElement");
        try {
          const videoRecognizer = await BlinkIDSDK.VideoRecognizer.createVideoRecognizerFromCameraStream(
            cameraFeed,
            recognizerRunner
          );

          const processResult = await videoRecognizer.recognize();
          console.log(processResult);

          if (processResult !== BlinkIDSDK.RecognizerResultState.Empty) {
            const recognitionResult = await recognizer.getResult();
            console.log(recognitionResult);
          }
          else {
            console.log("فشل التعرف!");
          }

        }
        catch (error) {
          console.error(error);
        }
      },
      (error) => {
        console.log("حدث خطأ أثناء تهيئة SDK!", error);
      }
    )
}
else {
  console.log("هذا المتصفح غير مدعوم من قبل SDK!");
}
الآن، دعونا نفهم ما الذي يفعله هذا الكود…
const LICENSE = '';
import * as BlinkIDSDK from "@microblink/blinkid-in-browser-sdk";

if (BlinkIDSDK.isBrowserSupported()) {
سطراً سطراً:
- We defined a constant called
LICENSE(we’ll tackle this in the next section). - Imported all the exported members from the
@microblink/blinkid-in-browser-sdkpackage, and assigned them to theBlinkIDSDKobject. - تم التحقق مما إذا كان المتصفح الحالي مدعومًا من قِبل BlinkID SDK (يمكنك الاطلاع على قائمة المتصفحات المدعومة في وثائقنا).
const loadSettings = new BlinkIDSDK.WasmSDKLoadSettings(LICENSE);
loadSettings.engineLocation = window.location.origin + "/resources/";
سطراً سطراً:
- Created a new instance of
WasmSDKLoadSettings, passing theLICENSEconstant.- يحتوي هذا الكائن على إعدادات التكوين الخاصة بتحميل وحدة WebAssembly (WASM) الخاصة بمجموعة أدوات تطوير البرامج (SDK). يمكنك قراءة المزيد عن هذا الموضوع هنا.
- Set the location where the WASM engine files are hosted. As you may remember from the
Copying the resources folderstep, we copied theresourcesfolder to thepublicfolder, and we need to indicate that specifically.- If you’d copy/paste the actual content of the
resourcesfolder into thepublicfolder, then you wouldn’t need to set this specifically.
- If you’d copy/paste the actual content of the
- Called the
loadWasmModulemethod to load the WASM module with the specified settings.- This method returns a promise, and once it resolves succesfully, the asynchronous callback function is executed, exposing the
wasmSDKvariable.
- This method returns a promise, and once it resolves succesfully, the asynchronous callback function is executed, exposing the
const recognizer = await BlinkIDSDK.createBlinkIdSingleSideRecognizer(wasmSDK);
const recognizerRunner = await BlinkIDSDK.createRecognizerRunner(
    wasmSDK,
    [recognizer],
    true
);
سطراً سطراً:
- Created an instance of
BlinkIdSingleSideRecognizer. - Created a
RecognizerRunnerinstance which manages the recognition process.- تتطلب هذه الدالة مثيل Wasm SDK، ومصفوفة من أدوات التعرف، وعلامة منطقية تحدد ما إذا كان يجب أن تسمح أداة التعرف بنتائج متعددة أم لا (اقرأ المزيد عن هذا الموضوع هنا).
const cameraFeed = document.getElementById("myCameraVideoElement");
const videoRecognizer = await BlinkIDSDK.VideoRecognizer.createVideoRecognizerFromCameraStream(
    cameraFeed,
    recognizerRunner
);
سطراً سطراً:
- تم اختيار عنصر الفيديو من DOM الذي سيُستخدم لعرض بث الكاميرا.
- In a
try/catchblock we created aVideoRecognizerinstance from the camera stream using the selected video element (cameraFeed) and the recognizer runner (recognizerRunner).
const processResult = await videoRecognizer.recognize();
console.log(processResult);

if (processResult !== BlinkIDSDK.RecognizerResultState.Empty) {
    const recognitionResult = await recognizer.getResult();
    console.log(recognitionResult);
}
else {
    console.log("فشل التعرف!");
}
سطراً سطراً:
- بدأت عملية التعرف وسجلت النتيجة في وحدة التحكم.
- تم التحقق من أن نتيجة العملية ليست فارغة، ثم تم انتظار النتائج من أداة التعرف وتسجيلها في وحدة التحكم.
- إذا كانت نتيجة العملية فارغة، فإننا نقوم بتسجيل الرسالة المناسبة.
Finally, we catch any errors from the try/catch and promise.
اختبار التكامل – المحاولة الأولى
If you open the index.html file in a web browser, you’ll see and error, something along the lines of:
خطأ لم يتم التعامل معه
    في new WasmSDKLoadSettings (@microblink_blinkid-in-browser-sdk.js?v=1a0eef98:1868:13)
    في main.js:5:24
This is because we haven’t defined the license in the LICENSE variable.
الحصول على الرخصة
لحل هذه المشكلة، علينا الانتقال إلى https://login.microblink.com/ لإنشاء حساب في Developer Hub. سيظهر لك نموذج التسجيل القياسي:

سيُطرح عليك بعض الأسئلة التي يمكنك تخطيها (إذا كنت مطورًا أو مدير مشروع، وما إلى ذلك 🙂).

وستتلقى رسالة بريد إلكتروني للتأكيد.

بمجرد تسجيل الدخول، سترى لوحة تحكم مثل هذه:

Here you should click on the Start New Trial button, and in the following screen select BlinkID as the product, InBrowser as the platform, and localhost as the domain name for the testing environment. Before going into production, you should update the domain name to your actual domain.

Then you’ll get to a screen where you can copy the code (it’ll be a long, so-called Base64, string of numbers and letters). Paste this code into the LICENSE variable in the main.js file, and you’ll be all set.

بالمناسبة، إذا كنت مهتمًا، فإن BlinkID متاح على العديد من المنصات؛ يمكنك الاطلاع على قائمة المنصات عبر هذا الرابط.
اختبار التكامل – المحاولة الثانية
If you open the index.html file in your browser again, you’ll be presented with a camera feed where you should show some ID. I Googled US driver’s license example, took the first image on the results page, and printed it out.
ثم إذا عرضت هذه الصورة أمام الكاميرا، فسوف تقوم بتفريغ جميع البيانات المتاحة في سجل وحدة التحكم:

الخلاصة
يُعد دمج حزمة أدوات تطوير التطبيقات (SDK) الخاصة بـ BlinkID في تطبيق الويب الخاص بك عملية بسيطة يمكنها تحسين قدرات التطبيق في مجالي التسجيل والمعالجة بشكل كبير.
باتباع هذه الخطوات، يمكنك إعداد وظائف مسح المستندات ضوئيًّا والتعرف الضوئي على الحروف (OCR) لاستخراج البيانات من رخص القيادة، مما يساهم في تحسين تجربة المستخدم والكفاءة في أقل من 5 دقائق.
لمن يرغب في معرفة المزيد
كان هذا مثالاً بسيطاً يهدف فقط إلى مساعدتك على البدء بسرعة.
والآن، إذا كنت ترغب في معرفة المزيد، يمكنك الاطلاع على مستودع الكود الرسمي على Github، كما يمكنك أيضًا محاولة إضافة بعض التعديلات بنفسك، مثل:
- Styling
- قم بتحسين كود HTML باستخدام CSS لجعل الواجهة أكثر سهولة في الاستخدام.
- Error handling and feedback
- إضافة آلية أفضل لمعالجة الأخطاء وتقديم ملاحظات أفضل للمستخدمين.
- Extend functionality
- اكتشف ميزات BlinkID SDK وعزز قدرات تطبيقك.